
Table of Contents
Cow Sales Management #
The Cow Sales module allows you to record livestock sales, manage customer transactions, and track financial details for each sale.
Module URL: http://127.0.0.1:8001/sale-cow
How to Manage Cow Sales #
Step 1: Initialize the Sale #
- Click “Add New” on the sales list page.
- Enter the following details:
- Sale Date
- Customer Name
- Phone Number
- Optionally select a Supplier if applicable.
Step 2: Select Animals for Sale #
- Click “Add Row” in the animal details section.
- Fill in the required fields:
- Choose Type — Select Cow or Calf.
- Select Animal — Choose from the dropdown (grouped by Stall/Shed).
- Sale Price — Enter the price for the selected animal.
- Repeat for multiple animals in a single transaction.
Step 3: Finalize Financials #
- The system automatically calculates the Sub Total and Total Price.
- Enter any Discount if applicable.
- Enter the Total Paid amount received.
- The system automatically calculates the remaining Due Balance.
Step 4: Save and Print #
- Click “Submit” to save the transaction.
- Sold animals are automatically marked as Sold in the inventory.
- To print an invoice:
- Click “Action” → “Invoice” on the sales list page.
Management Tips #
- Pre-Sale Validation — The system prevents selling animals marked as Died.
- Dynamic Filtering — Only active (unsold) animals appear in the selection list.
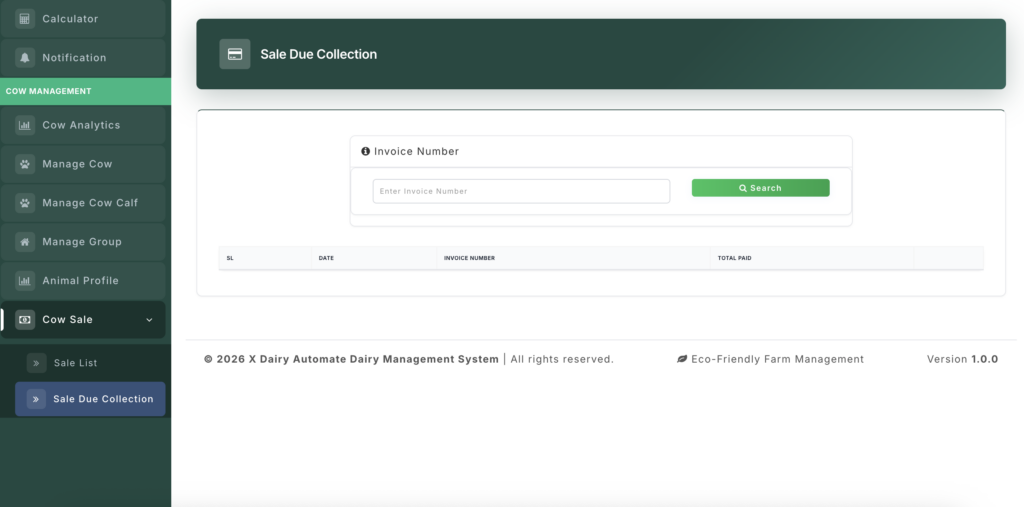
Sale Due Collection Management #
The Sale Due Collection module helps track and collect outstanding payments from previous livestock sales.
Module URL: http://127.0.0.1:8001/sale-due-collection
How to Manage Due Collections #
Step 1: Locate the Invoice #
- Enter the Invoice ID or Customer Name in the search bar.
- Click “Get History” to load the sale record.
Step 2: Review Payment Status #
The system displays:
- Total Price — Original sale amount.
- Previous Payments — List of all payments made.
- Current Balance — Remaining due amount.
Step 3: Record a New Payment #
- Scroll to the “Add New Payment” section.
- Enter:
- Payment Date
- Pay Amount
- Click “Submit” to update the balance.
Step 4: Manage Payment History #
- If a payment was recorded incorrectly:
- Click the Delete icon next to the payment record.
- The system will automatically restore the due balance.
Management Insights #
- Accurate Searching — Always enter the full Invoice ID (including leading zeros).
- Real-Time Updates — Balances update instantly when payments are added or removed.


Leave a Reply
You must be logged in to post a comment.